
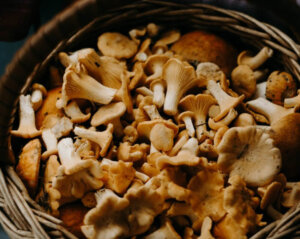
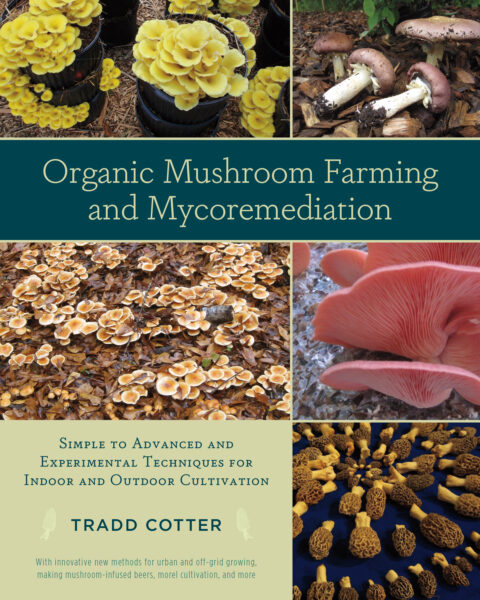
A Guide to Growing Oyster Mushrooms Indoors

What’s so great about oyster mushrooms? First, you can add them to the short list of foods that can be grown indoors!
This fungus can grow almost anywhere–from a log to a straw.
The following is an excerpt from Fresh Food from Small Spaces by R. J. Ruppenthal. It has been adapted for the web.
Oyster Mushrooms: The Easiest Mushrooms to Grow
Though they are accustomed naturally to growing in wood, you also can raise oyster mushrooms in a variety of other growing media, including straw or sawdust. The easiest way to begin is with a kit.
If you want to experiment on your own, then oysters give you a greater chance of success than other mushrooms.
There are dozens of varieties of oyster mushrooms, from pin-sized to trumpet-sized, so check with your kit or spore supplier to see which kinds are available and recommended for your climate. Most grow in an ideal temperature range of about 55 to 65 °F.
Growing Kits for Oyster Mushrooms
 Most oyster mushroom growing kits consist of either a small inoculated log or a holey plastic bag filled with sterilized, inoculated straw or sawdust.
You can make your own kit using any of these materials, but I will recommend one other method that has worked well for many indoor mushroom growers.
Oyster Mushrooms: What You Need
For this you will need two milk cartons or small waxed-cardboard boxes, enough sawdust to fill them, 2 cups of whole grain flour or coffee grounds, and some oyster mushroom spawn.
The basic steps are as follows, but feel free to improvise. If sawdust is unavailable, you could also use straw for this.
-
Cut out the top of the milk cartons so that their edges are of even height. Punch several small holes in each side of both cartons.
-
Sterilizing (optional): If you are using sawdust that has already been inoculated with spawn, then do not try to sterilize it or you will kill the fungi. If you are using additional sawdust that has not been inoculated yet, then you may want to sterilize it. The easiest ways to do this are by boiling, steaming, or microwaving it. If anyone else in your household might object to cooking sawdust in the kitchen, then you might want to try this step when no one else is home. To sterilize with a microwave oven, fill a microwave-safe bowl with sawdust, plus the flour or coffee grounds, and wet down this mass with enough water so that it is the consistency of a wet sponge. You may need to do several successive batches to sterilize all of your sawdust. Nuking the sawdust on high for two minutes or until the water begins to boil off will kill any unwanted organisms and leave your kitchen smelling like either a wood shop or coffee shop. You also can boil or steam the growing medium in a pot of water in the kitchen or over a campfire, with or without a steamer basket. After it has boiled for a few minutes, turn off the heat, keep the sawdust covered, and let it return to room temperature.
-
Using non-chlorinated water, wet the sawdust until it’s thoroughly damp.
-
Then mix in your spores or inoculated material.
-
Tightly pack this damp growing medium into your milk cartons and leave them in a cellar, garage, storage locker, or dark cabinet. You can put some plastic underneath the cartons and cover them loosely with plastic if desired. If insects are a problem, then spray cooking oil around the plastic to trap them.
-
Keep the sawdust mix moistened regularly with non-chlorinated water, and in a few months your fungi should fruit repeatedly. To harvest mushrooms, twist them out gently so that their stems do not break.
Recommended Reads
Drill, Plug, Wax, Wait: 6 Simple Steps to Growing Mushrooms Outdoors
Read The Book
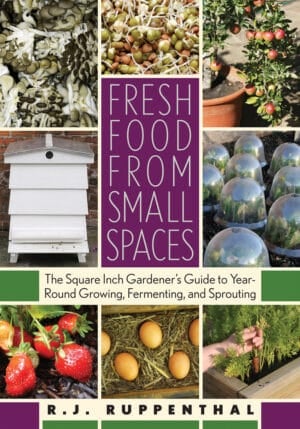
Fresh Food from Small Spaces
The Square-Inch Gardener's Guide to Year-Round Growing, Fermenting, and Sprouting
$13.97
You may like...
-
 $9.97
$9.97 -
 $20.00
 -
 $19.98
Recent Articles
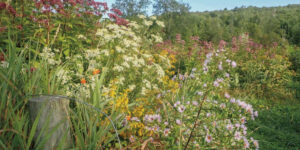
Picture-perfect farms may be aesthetically pleasing, but they’re likely lacking in biodiversity. Rewilding practices allow the land to return to its natural wild state, providing more room for fruit-bearing plants to grow and animals to control small pests. The following is an excerpt from Farming on the Wild Side by Nancy J. Hayden and John…
Read More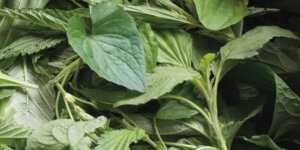
Whether you are an expert forager or new to the skill, it’s important to understand how to store your freshly picked bounty. Luckily, author Alan Bergo has the lowdown on how to harvest wild greens and cook them for the best storage so your harvest can stay fresh for days after being picked! The following…
Read More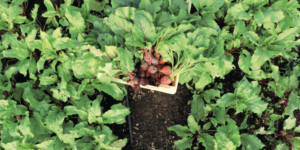
Let’s drop the beet! Beets can be grown year-round and are a perfect, flavorful addition to meals. Get started on growing your own no-till beets with help from these tips! The following is an excerpt from The Living Soil Handbook by Jesse Frost. It has a been adapted for the web. How to Grow No-Till…
Read More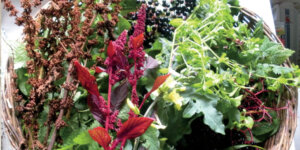
Foraging wild plants in your area is a great way to shake up your culinary delights. Don’t know where to start? Below are our best foraging posts to get you started on your hunt for wild edibles. Foraging 101: Where to find your bounty We’ve given you descriptions. We’ve given you recipes. We’ve given you…
Read More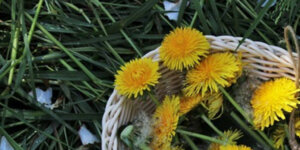
You can forget about waiting for your wine to ferment, because we have a recipe for dandelion beer that will be ready in just a week! Who knew those weeds in your backyard could make such a fun beverage? The following excerpt is from Pascal Baudar’s Wildcrafting Brewer. It has been adapted for the web.…
Read More