

How to Sprout Your Own Minigarden on a Windowsill
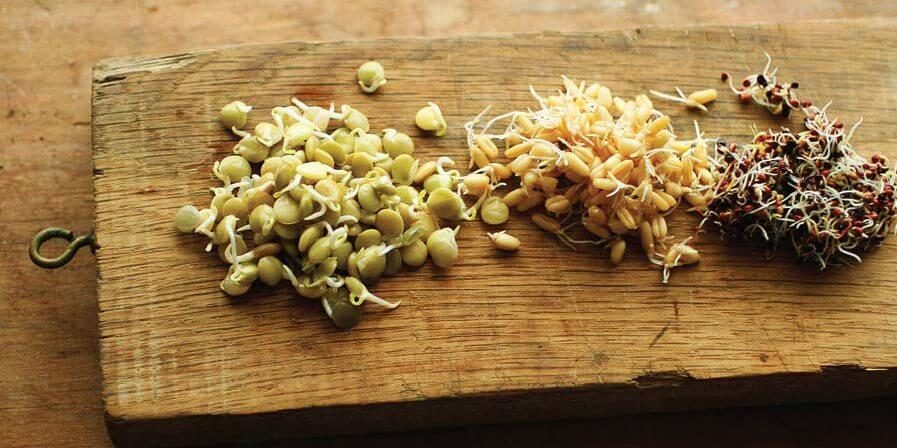
Having an indoor sprout garden is easier than you might think and yields a bountiful harvest. Here’s how to get started in your home — right from your windowsill!
The following excerpt is from When Technology Fails, Revised and Expanded by Matthew Stein, edited by Tim MacWelch. It has been adapted for the web.
Sprouting: Your Own Minigarden on a Windowsill
Seeds are one of nature’s most perfect foods. They contain all the nutrients necessary to sustain the growth of budding seedlings until the seedling has developed a root system large enough to sustain growth from soil sources. One of the few foods more perfect than raw seeds are sprouted seeds.
The sprouting process decreases the carbohydrate content and increases the vitamin and protein amounts in these live foods. The simple process of sprouting only takes a few days to yield fresh vegetables any time of the year, and the equipment is very inexpensive.
You can sprout seeds in your own home, creating a low-cost source of fresh vegetables all year long. All you need for starting your indoor sprout garden is:
- a quart glass jar,
- untreated whole seeds,
- a piece of nylon stocking (or cheesecloth, screen, nylon mesh, etc.),
- a rubber band or canning jar seal to hold the mesh over the jar

(Sources: Stevens 1997, 198; Emery 1998, 114)
Though most nutritious in their raw form, sprouts can be sautéed, stir-fried, boiled, or cooked into almost any dish. Nearly all seeds can be sprouted, including most whole grains and legumes. Grains and legumes are probably the most compact and inexpensive type of food that can be stored for emergency preparedness.
- Warning: Potato and tomato sprouts are poisonous.
- Caution: Do not sprout commercial seeds because these are usually treated with a poisonous fungicide.
The Sprouting Process
- Measure the seed batch according to the sprouting chart above. Use only untreated whole seeds, preferably organic (available at health food stores). Inspect and pick debris out of the seeds.
- Place the seeds in a quart jar (or sprouting tray) half-filled with warm water (preferably unchlorinated). Cover the jar with nylon stocking (or cheesecloth, screen, etc.) and put the rubber band in place.
- Soak overnight or as directed in the chart. Drain and rinse with cool water. If you use tap water, leave the water in an open container for a few hours before using, to get rid of the chlorine.
- While germinating, keep the jar warm and covered with a dark cloth, or keep it in a cabinet. For greener sprouts, give them more light as they grow but keep them out of direct sunlight. For whiter sprouts, keep them out of the light. Experiment to find how you think they taste best.
- Rinse and drain well two to three times a day (or as recommended in the chart) to keep sprouts from spoiling or souring.
- Sprouting time is a matter of personal taste, but peak nutritive value is reached in two to three days. Sprouts can be kept in the refrigerator for a week. Freeze them if you wish to store for longer periods.
- Some people recommend that you lightly steam bean sprouts to destroy toxins found in raw beans (Stevens 1997, 198).

Seed Propagation
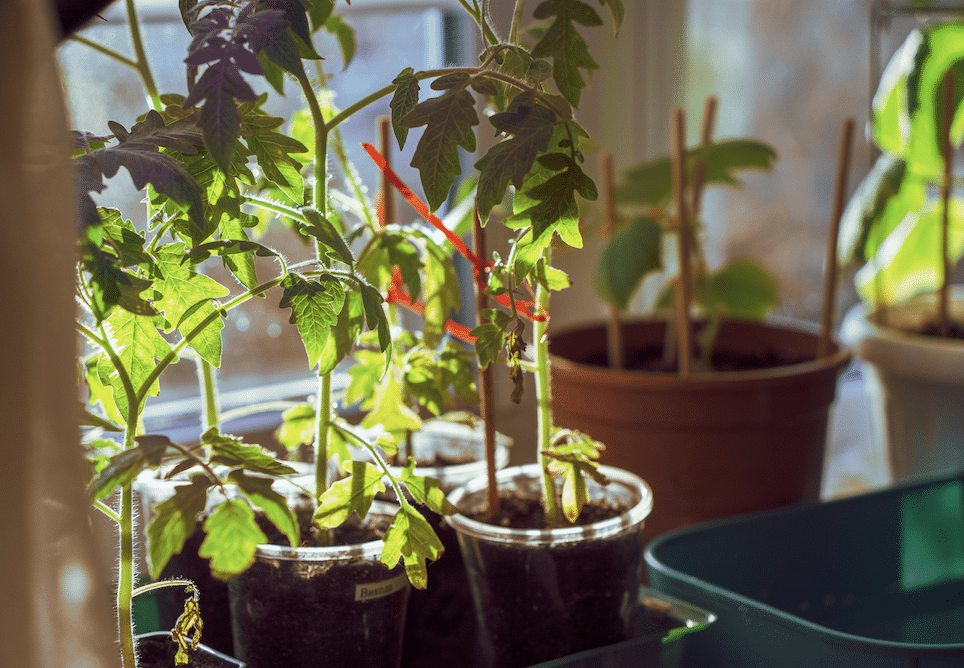
The natural inclination of seeds is to germinate and grow when given the right moisture, soil, and warmth.
- Whether starting in beds or flats, the seed should be planted in moist, fertile soil (with lots of humus), and two to four times as deep into the soil as the seed’s thickness, in the small direction. For most varieties, you will extend the growing season (harvest more times during the year) if seeds are propagated in potting soil within flats or cold frames, then transplanted to the garden.
- When planting seeds in flats, place them 1 to 2 inches apart, preferably in a hexagonal pattern, so the seedlings will quickly create a miniclimate of their own.
- A classic planting soil mixture for sprouting flats (by weight) is one part compost, one part gritty sand, and one part turf loam. A simpler flat soil mixture consists of equal parts sifted compost and bed soil. If you have double-dug raised beds, combine the soil from the first trench of the double-dig with compost for your bed soil.
- Gently water seedlings both before and after transplanting to minimize plant shock. Handle seedlings by the leaves or scoop up with a protective ball of soil to avoid damaging the stem and roots
Recommended Reads
Read The Book

When Technology Fails, Revised and Expanded
The Definitive Manual for Preparedness in an Uncertain World
$34.95
You may like...
-
 $29.95
-
$29.95
-
$34.95


Recent Articles
Having an indoor sprout garden is easier than you might think and yields a bountiful harvest. Here’s how to get started — right from your windowsill!
Read More
Growing no-till arugula is a simple way to grow your own food. These greens can be used on pizzas, salads, and as a garnish on almost any dish.
Read More
The leaves are falling, which means it’s time start figuring out what to do with them. This year, try turning your fallen leaves into mulch for your garden!
Read More
Beets can be grown year-round and are a perfect, flavorful addition to meals. Get started on growing your own no-till beets with help from these tips!
Read More
All hail the mighty garlic clove! Become a master at garlic growing with these simple tips for growing no-till garlic from seed to harvest.
Read More