

Growing Koji in Your Own Kitchen

Koji, the microbe behind the delicious, umami flavors of soy sauce, miso, fermented bean sauce, and so many of the ingredients that underpin Japanese cuisine. After you’ve mastered growing your koji, a whole new world of culinary opportunities will be at your fingertips! To start, all you need is a baking tray, rice, koji spores, and a little bit of heat. Enjoy this delicious mold!
The following is an excerpt from Koji Alchemy by Jeremy Umansky and Rich Shih. It has been adapted for the web.
(Husk Savannah’s amino pastes: tomato, chanterelle, and Hubbard squash. Photo credit: Andrew Wang.)
(Photographs courtesy of Peter Larson unless otherwise noted.)
Bare-Bones Incubation Needs
There are a few simple requirements to grow koji: (1) a mild heat source to hold the starch medium at a warm temperature for two days; (2) a level of ambient airflow to supply oxygen; and (3) a fair amount of humidity that does not allow water to bead on the grain bed.
The optimal warm temperatures required for incubation are 86°F (30°C) (protease to break proteins down into amino acids) and 95°F (35°C) (amylase to break starches into sugars). If you think a little about where you live and kitchens you work in, we’re sure you can think of a few spots that are warm and cozy: on top of a refrigerator, inside your oven with just the light on, in the basement next to the furnace, et cetera.
The best way to maintain the environment is to start in a place that is already as close as possible to ideal and controlled. Most places that we go these days have their thermostat set to a comfortable temperature for humans, so getting it up to the appropriate temperature for koji doesn’t take much energy at all.
Modern Approaches to Growing Koji
Modern approaches to growing koji employ a wide variety of equipment and setups ranging from a version of the traditional Japanese koji growing cabinet to nothing more than a baking sheet and plastic wrap. In this section we’ll discuss the options for various price points and levels of commitment.
We will cover options ranging from absolute bare-bones needs to leveraging technology found in fine dining restaurants and some home kitchens. At the most basic, growing koji can be simply achieved with cooked grains kept under humid conditions, so very little is required. What’s essential is setting up or adapting a controlled environment that can be sustained for a couple of days.
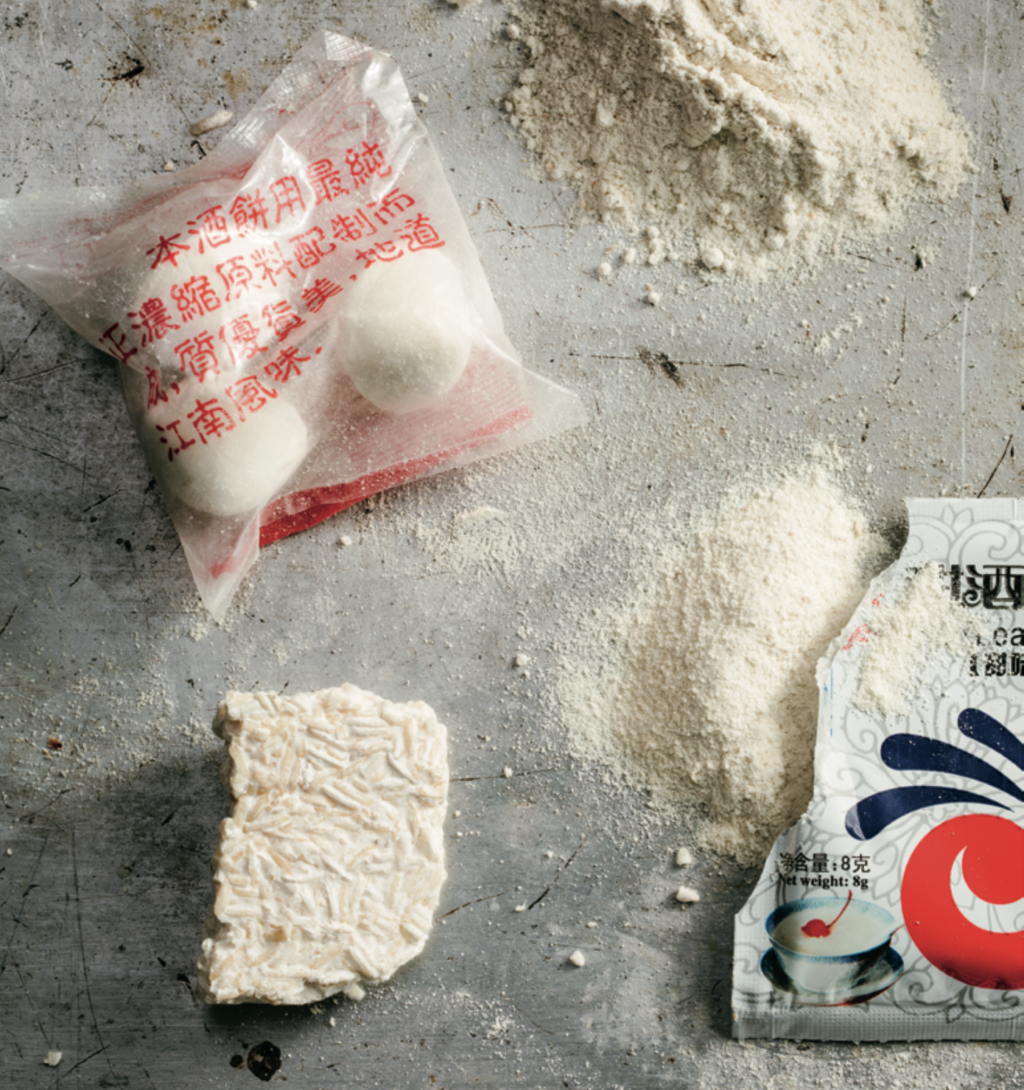
Other common starters: Rhizopus (right two) and jiuqu (Chinese yeast balls, top left) with jasmine rice koji (bottom left).
We’ve worked extensively with what we refer to as standard cooked rice, also known as boiled rice and pilaf rice. While this rice typically allows for less optimized koji growth, given the proper attention—and in some cases piggybacking koji with lacto-fermentation—will minimize this. We have always had plenty of enzymes; any slight souring isn’t a problem for most applications—especially amino pastes and amino sauces. For most people—especially those trying to make enough koji to supply a busy restaurant—it’s a beautiful thing to have room to be less fussy with the rice preparation. We use standard cooked rice at Larder every day as our primary substrate for growing koji to be used in most of our products.
The technique we developed for producing koji with standard cooked rice allows for ease of preparation, incubation, and final use. It all starts with selecting the proper rice—so, long-grain. (As we previously discussed, long-grain varieties of rice have more of the starch amylose, which is koji’s preferred food.) We love using jasmine or basmati rice due to their fantastic inherent aromas and flavors. Economics are another strong incentive to use jasmine, as you can easily purchase a 50-pound (23 kg) bag for under $40 USD. That’s less than a dollar a pound, which is very advantageous in a commercial food setting. Making and using koji requires a decent labor investment, so keeping the ingredient cost down is a huge plus. Once you have your rice, it’s time to prepare it for inoculation, inoculate it, allow the koji to grow, and then use or store it. In the following steps you’ll notice a few differences compared with the traditional process in the previous section—ways we have adapted the process to how our kitchens function and the ways in which we use koji. We’ll discuss some of these differences and why we made the decision to change.
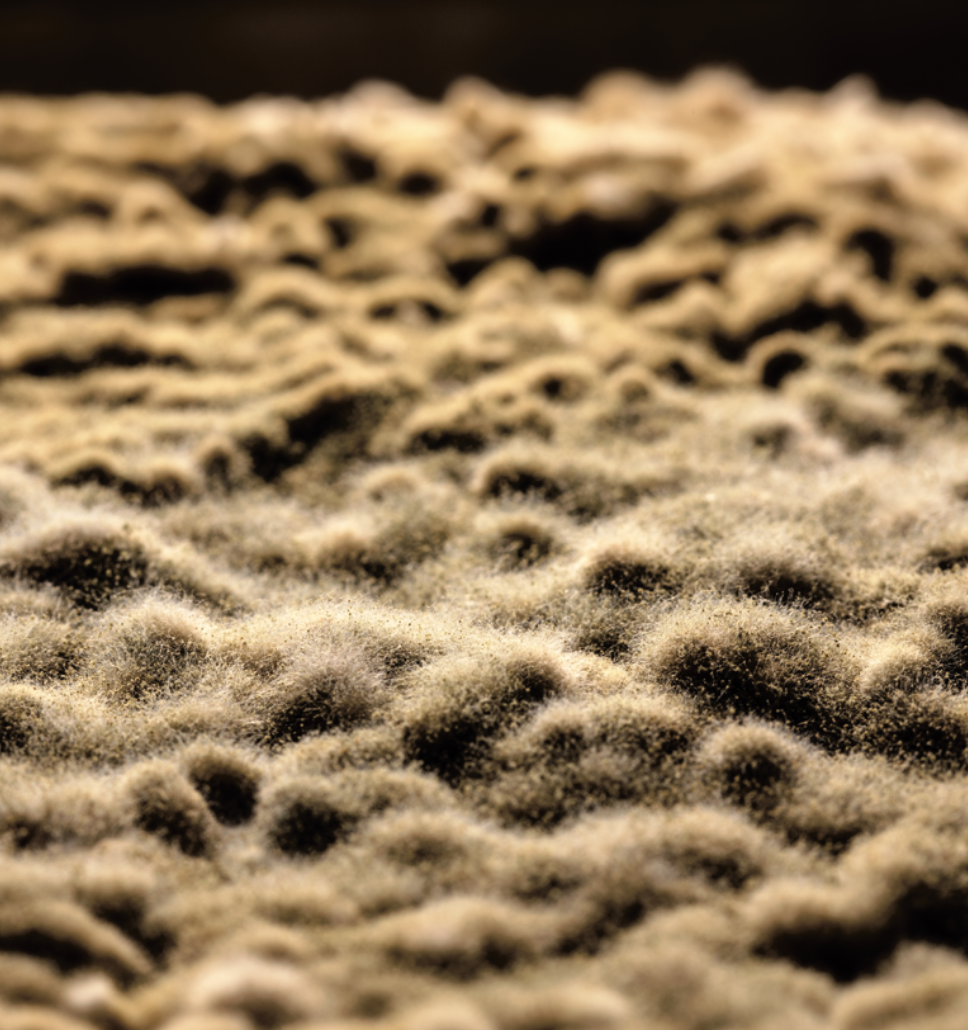
Landscape of spored-out koji (Aspergillus oryzae).
A major reason for some of these changes was that the processes were developed in chef-driven professional kitchens. Those of you who work in one will be able to, we hope, relate. Chef-driven professional kitchens are staffed with professional culinarians of varying degrees—everyone from the dishwasher to the executive chef—a majority of whom are new to cooking and gastronomy and are learning on a daily basis. This being the case, tasks often are delegated to individuals based on their skill sets. In many kitchens dishwashers and prep cooks are tasked with various duties such as peeling onions, potatoes, and garlic, picking and cleaning herbs, and preparing lemon wedges. Rarely are they asked to butcher a fluke, make a sauce, or create a fermented food. These are tasks that often fall to specialized workers within the kitchen, be they a saucier, a sous chef, or a butcher. While developing the techniques for growing and using koji in a kitchen such as this, our intent was for it to be simple. We wanted anyone handy to be able to take on the task should we be busy with other tasks. Due to this we eliminated what we could from the traditional growing process and kept it as approachable as possible. The great result of a simplified culinary methodology in a chef-driven professional kitchen is that once it becomes approachable for individuals who don’t have the skills yet to execute a complex process on their own, anyone can follow it. And you don’t have to be working in such a kitchen to embrace this simplified method. Anyone, professional and amateur alike, can embrace this process and work comfortably with it.
1. Preheat your oven to 350°F (176°C). This methodology is based on European, specifically French, styles of cooking rice. The cooking is done in the oven rather than on the stovetop or in a steamer. Place your rice into an oven-safe dish filled no higher than half the depth of the pan. We use a 6-inch-deep (15.2 cm), full-sized hotel pan, but you can use any vessel that will allow you to cook the amount of rice that you intend to culture. Even a stockpot will work. Lay your hand flat on top of the rice and add enough cold water to just cover your knuckles. In this process we don’t wash the rice. That isn’t to say that you can’t, but as we’ve stated this process is simplified for ease.
2. Cover your dish and bake. Once the rice is covered with water, cover the dish with a tight-fitting lid or foil and place it in the oven for 90 minutes, then remove it. Allow it to rest, covered, for at least an hour.
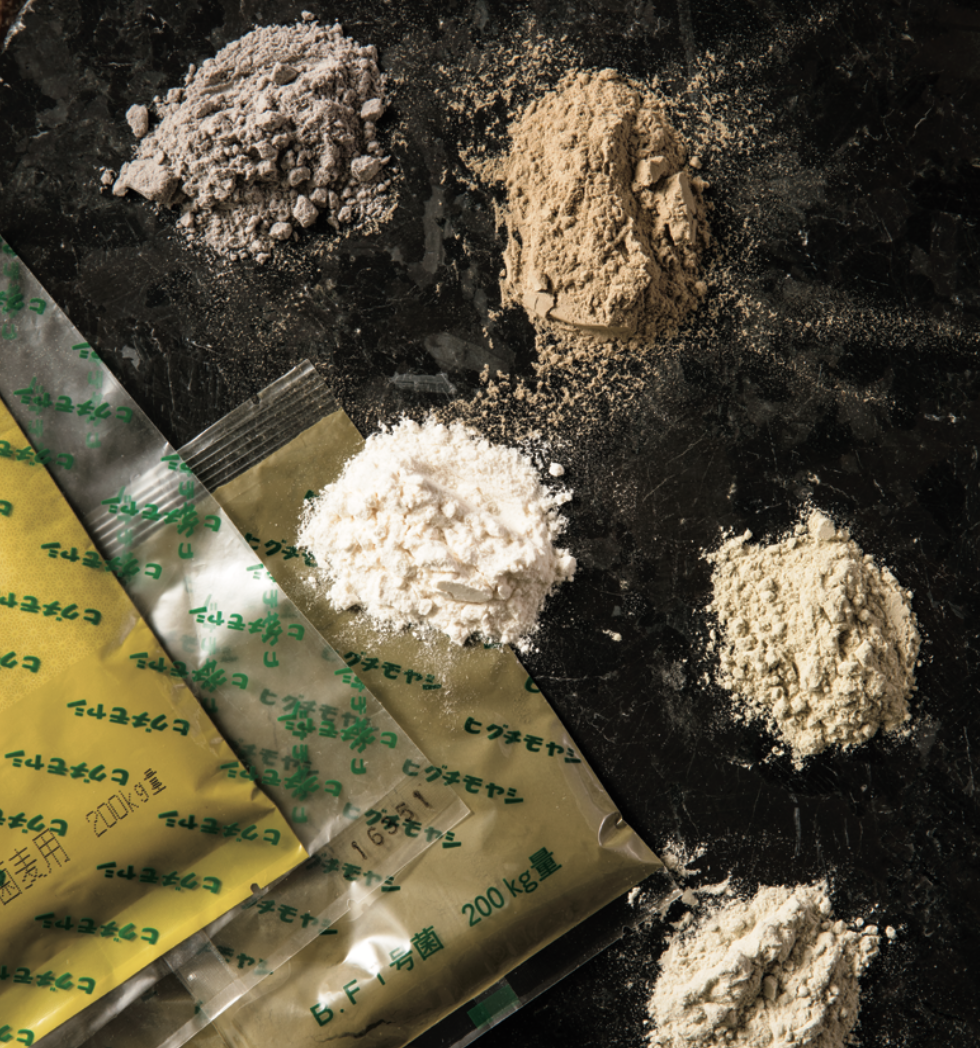
An array of different types of koji spores.
3. Remove and break apart clumps. Once the rice has rested, remove it from the dish and separate out the wet overcooked parts, saving them for making wet koji or amazake. The properly cooked rice should be gently broken apart so that it flows freely with no clumps present. This is very important and serves to ensure that your koji will grow beautifully. Clumping prevents airflow from reaching the grains. Breaking the rice apart allows for greater airflow within the rice as the koji grows. Grains that are separated also allow for better dispersal of the koji spores and make it easier for the koji to grow.
4. Inoculate the rice. Now that the rice is broken apart, it’s time to inoculate it. First take the temperature of the rice; it should be no hotter than 100°F (37°C). Temperatures hotter than this can kill the spores. You can use a thermometer or simply rest your hand on the rice. If it feels hotter than your hand, wait a little for it to cool off to the proper temperature. Once it’s cooled, you can sprinkle on your spores. Do this so they evenly rain down onto the rice. Gently mix and massage the rice to fully disperse the spores. Be gentle and use your fingertips. You don’t want to crush the grains or smash them back into clumps. Carefully place the inoculated rice into a metal tray. Don’t compact the rice, and don’t let it get more than 2 inches (5 cm) deep. This is important to allow the koji to grow undisturbed. Layers of rice deeper than 2 inches will need to be mixed as outlined in the traditional method. Layers less than 2 inches deep won’t need to be mixed. They aren’t thick enough to overheat. This is one of the major advantages to this method.
5. Cover the tray tightly with plastic wrap. Poke a couple of finger-sized holes in the plastic wrap and then incubate at the desired temperature, 80°F (26°C) for higher protease production or 90°F (32°C) for higher amylase production. The koji should be fully grown approximately 36 hours later, after which you can use it or store it for later.
Storing Your Koji
There are multiple options for storing your freshly grown koji. Wrapped tightly in plastic wrap or in a zippered bag, fresh koji will hold just fine under refrigeration for around two weeks. In a vacuum-sealed bag you can store fresh koji in your refrigerator for six weeks. If you absolutely have to freeze it, vacuum-pack it first to remove as much air as possible. You can freeze koji this way for up to six months, but it will not be nearly as good as fresh. Our preference is to always use it immediately, especially given the time and effort you’ve put in.
Recommended Reads
Read The Book
Koji Alchemy
Rediscovering the Magic of Mold-Based Fermentation (Soy Sauce, Miso, Sake, Mirin, Amazake, Charcuterie)
$17.48
You may like...
-
 $14.97
 -
 $6.25
$6.25 -
 $20.00
Recent Articles
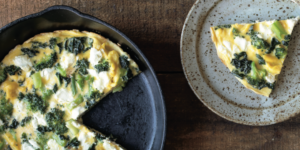
Introducing…your new favorite brunch dish! This whole broccoli frittata is packed with fresh, wildcrafted flavors that are bound to help you start your day off on the right foot. The following is an excerpt from The Forager Chef’s Book of Flora by Alan Bergo. It has been adapted for the web. RECIPE: Whole Broccoli Frittata…
Read More
Wondering where to forage for greens this spring? Look no further than hedges, which serve as natural havens for wild greens and herbs! The following is an excerpt from Hedgelands by Christopher Hart. It has been adapted for the web. Food from Hedges: Salads and Greens Let’s start by looking at all the wild foods…
Read More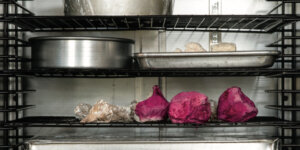
There’s a whole new world out there when it comes to koji. It doesn’t matter if you’re making bread, cheese, or ice cream, koji helps you pump up the flavor! Growing Koji in Your Own Kitchen Koji, the microbe behind the delicious, umami flavors of soy sauce, miso, fermented bean sauce, and so many of…
Read More
Whether you’re looking to replace your end-of-the-day cocktail, relax before bed, or want something new to add to your tea, this non-alcoholic mocktail syrup base will do the trick. Delicious and all-natural, take a sip of this nightcap mocktail and feel your troubles melt away. The following is an excerpt from Herbal Formularies for Health…
Read More
Want to enjoy bread without worrying about gluten? With Einkorn bread, a light bread with the lowest glycemic index, you can still enjoy all of the delights of bread. without any of the allergic reactions! The following is an excerpt from Restoring Heritage Grains by Eli Rogosa. It has been adapted for the web. Einkorn…
Read More