

Raw Fermentation: How to Make Apple Scraps Vinegar

The vinegar used in a dish can make or break the flavor altogether. With this simple raw fermentation recipe for apple scraps vinegar, you’ll have all the tools you need to create a crisp concoction that serves as the perfect addition to almost any condiment or dish.
Hungry for more? Add a little of your Apple Scraps Vinegar to this Wild Dijon Vinaigrette recipe to enjoy its fresh flavors with a seasonal salad.
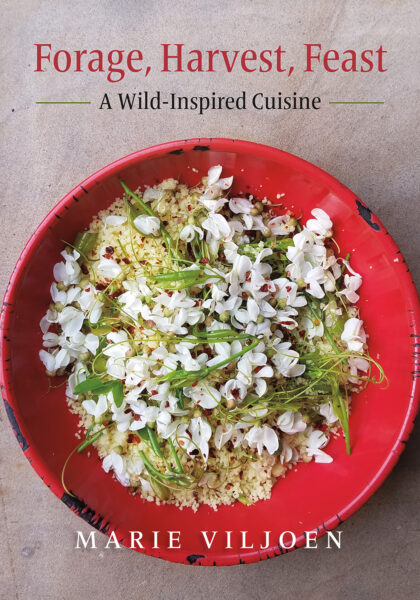
The following is an excerpt from Wildcrafted Vinegars by Pascal Baudar. It has been adapted for the web.
Unless otherwise noted, all photographs copyright © 2022 by Pascal Baudar.
Apple Scraps Vinegar: A Crisp Concoction
One method for making vinegar at home is raw fermentation—no need to go to the store to get a culture. You can do this with simple alcoholic ferments such as tepache (fermented pineapple), prickly pear wine, or a pear- or apple-scrap ferment, as used in the following process.
The yeast is already present on the ingredients and nothing is boiled, so, with the addition of some sugar, fermentation is assured.
First, the sugar will be converted to alcohol by the wild yeast. You don’t want to add too much sugar, as you want your drink to end up in the range of 5 to 9 percent alcohol, which is perfect for the Acetobacter bacteria to thrive. The more sugar you add, the higher the alcohol content you will get.
Acetobacter are also present on the fruit scraps. Once your initial alcoholic fermentation is complete, the bacteria will take over and convert the alcohol into vinegar.
How to Make Apple Scraps Vinegar
Making vinegar with apples is easy. Chop the apples or, if you used the apples for something else, like a pie, and have a lot of scraps left over, you can use those, too. In the old days, throwing away food scraps was frowned upon, and making vinegar was one way to convert scraps into something usable in the kitchen.
Three chopped apples are enough for a quart jar. You want organic, unwaxed apples, if possible, so the yeast is present on the skin. Discard the seeds.
Use the following for a quart (1 L) jar:
- 11 ounces (308 g) apple scraps or chopped apples
- 2 ounces (56 ml) maple syrup or honey or 1⁄4 cup (50 g) sugar
- 2 cups (480 ml) water
- 2 mugwort leaves for flavoring (optional)
- 1 sprig of black sage (Salvia mellifera) for flavoring (optional)
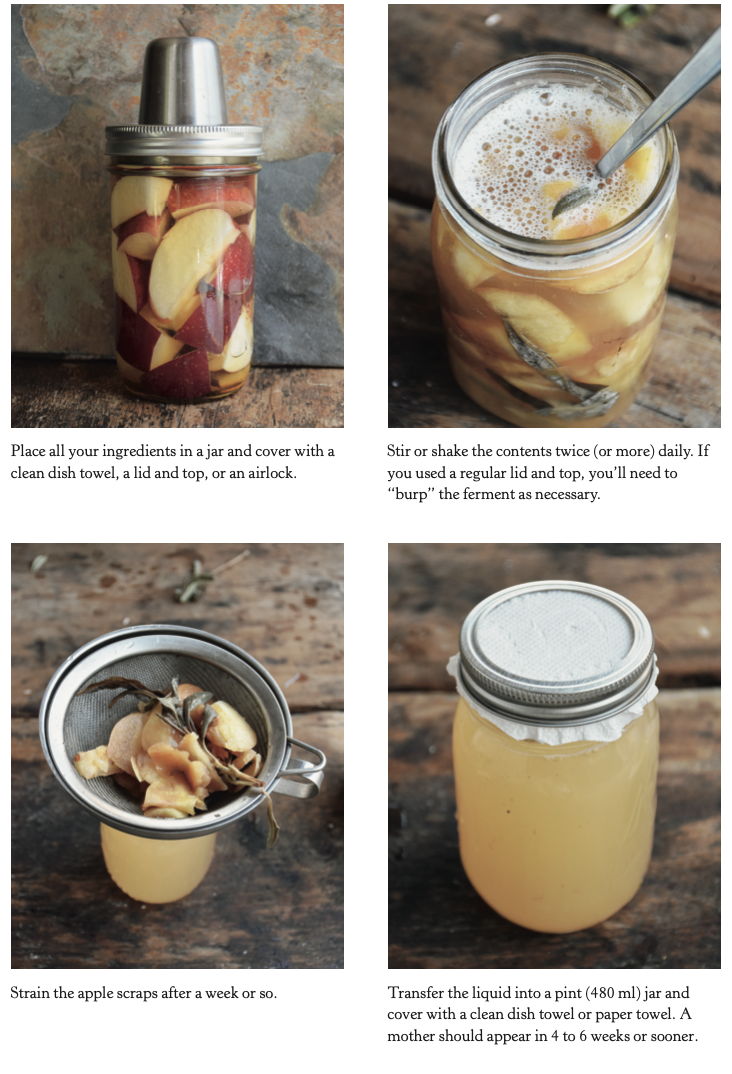
Place the apple chunks or scraps in the jar, then add the maple syrup or honey and water.
Add the mugwort leaves and black sage sprig, if using. Once the jar is full, you have two ways to continue the process: open fermentation or anaerobic alcoholic fermentation.
Open Fermentation
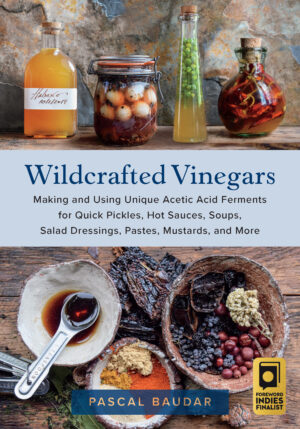
Open fermentation is a very traditional method. Secure a dish towel or paper towel on top of the jar with a string or rubber band. At least once a day, remove the towel and stir the contents with a clean spoon for a few seconds, then secure the towel once again. Personally, I stir at least twice a day.
Let me explain the potential problem with this way of fermenting, as well as the solution. Alcoholic fermentation—the first part of the vinegar-making process, before the Acetobacter get to work—is usually an anaerobic process, which means it occurs in the absence of oxygen. Mold spores and bacteria that could spoil the food love oxygen. Those apple scraps or chunks will float and come into contact with air, meaning unwanted bacteria or mold spores present on the fruit or in the air can proliferate. In other words, you risk mold and spoilage using this method.
The Solution to Mold and Spoilage
The solution is to stir, stir, and stir some more—at least 2 or 3 times daily. The undesirable bacteria and mold spores don’t like an acidic environment, which is exactly what’s being created with an alcoholic fermentation. As the wild yeast converts the sugar into alcohol, the liquid becomes more acidic, which reduces the chance of spoilage.
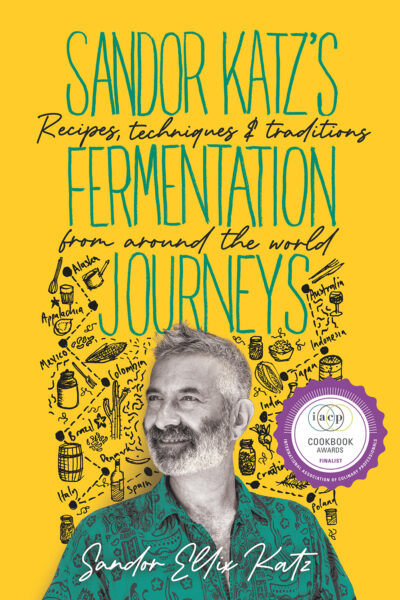
By stirring daily, you are making sure that all of the jar’s contents become acidic, including the floating chunks of fruit. Forget to do it and you’re pretty much guaranteed to have mold or other issues on top. Mold is never acceptable, so if your ferment gets moldy, simply toss the mixture and learn from the mistake. Ferment at room temperature (70°F to 80°F [21°C–26°C]) for around 7 to 10 days, then strain out the apple chunks. You should now be able to fit the ferment- ing liquid in a pint (480 ml) jar.
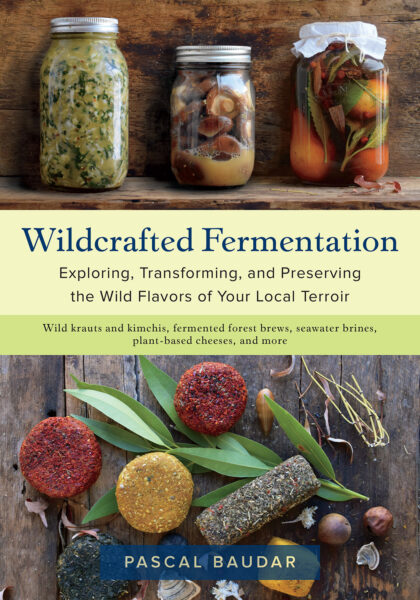
Cover the top of the pint jar with a dish towel or paper towel and continue the fermentation process. The contents are already quite acidic, but keep stirring at least once a day. Depending on the temperature, the contents will smell like vinegar and have the usual vinegary flavor within a total of 4 to 6 weeks.
Note that you can also stop stirring after you strain out the apple chunks and cover the new jar. It may be a bit riskier, but if you do that, you’ll see a mother appear on top after 4 to 6 weeks, which is another indication that your liquid is turning into vinegar. At around 6 weeks, strain and store the mother and bottle the vinegar.
Anaerobic Alcoholic Fermentation
The second method is to do the initial alcoholic fermentation in an anaerobic environment. If you make a lot of ferments, then you probably have some airlocks or similar apparatuses at home. It’s not a must, but I think you’re increasing your chances of success by using one of these devices. Instead of an airlock, I sometimes use a jar with a regular lid and band.
My method is to shake the contents gently at least twice a day, then open the top slightly to let the fermentation gases escape before closing it back. This is what we call “burping the jar.” Make sure you don’t forget to burp! A lot of pressure can build up inside that jar and create a mess if the top blows off. If I use an airlock or similar apparatus, I’ll do the same, but, obviously, no need for burping.
After 7 to 10 days, strain out the apple chunks and transfer the liquid into a pint (480 ml) jar.
Either method, open or anaerobic alcoholic fermentation, will work. If all you have is a dish towel or paper towel, just go ahead and make sure to stir the contents.
Recommended Reads
Read The Book
Wildcrafted Vinegars
Making and Using Unique Acetic Acid Ferments for Quick Pickles, Hot Sauces, Soups, Salad Dressings, Pastes, Mustards, and More
$17.48
You may like...
-
 $8.75
$8.75 -
 $14.97
 -
 $20.00
Recent Articles
Chances are, you’ve seen cattails growing on the edge of your local lake or stream at least once or twice. Instead of just passing these plants, try foraging for and cooking them to create delicious seasonal dishes! The following excerpt is from The New Wildcrafted Cuisine by Pascal Baudar. It has been adapted for the…
Read More
Garlic mustard: while known as “invasive,” this plant can be consumed in its entirety and has great nutritional value. Plus, the garlic-flavor is a perfect addition to any recipe that calls for mustard! The following are excerpts from Beyond the War on Invasive Species by Tao Orion and The Wild Wisdom of Weeds by Katrina…
Read More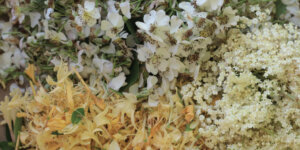
Oh, honeysuckle…how we love thee. If only there was a way to capture the sweet essence of this plant so we could enjoy it more than just in passing. Luckily, foraging and some preparation can help make that happen! Here’s a springtime recipe that tastes exactly like honeysuckle smells. The following excerpt is from Forage,…
Read More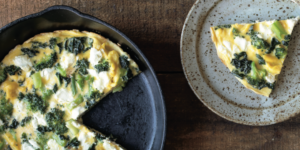
Introducing…your new favorite brunch dish! This whole broccoli frittata is packed with fresh, wildcrafted flavors that are bound to help you start your day off on the right foot. The following is an excerpt from The Forager Chef’s Book of Flora by Alan Bergo. It has been adapted for the web. RECIPE: Whole Broccoli Frittata…
Read More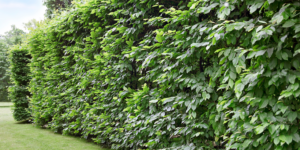
Wondering where to forage for greens this spring? Look no further than hedges, which serve as natural havens for wild greens and herbs! The following is an excerpt from Hedgelands by Christopher Hart. It has been adapted for the web. Food from Hedges: Salads and Greens Let’s start by looking at all the wild foods…
Read More